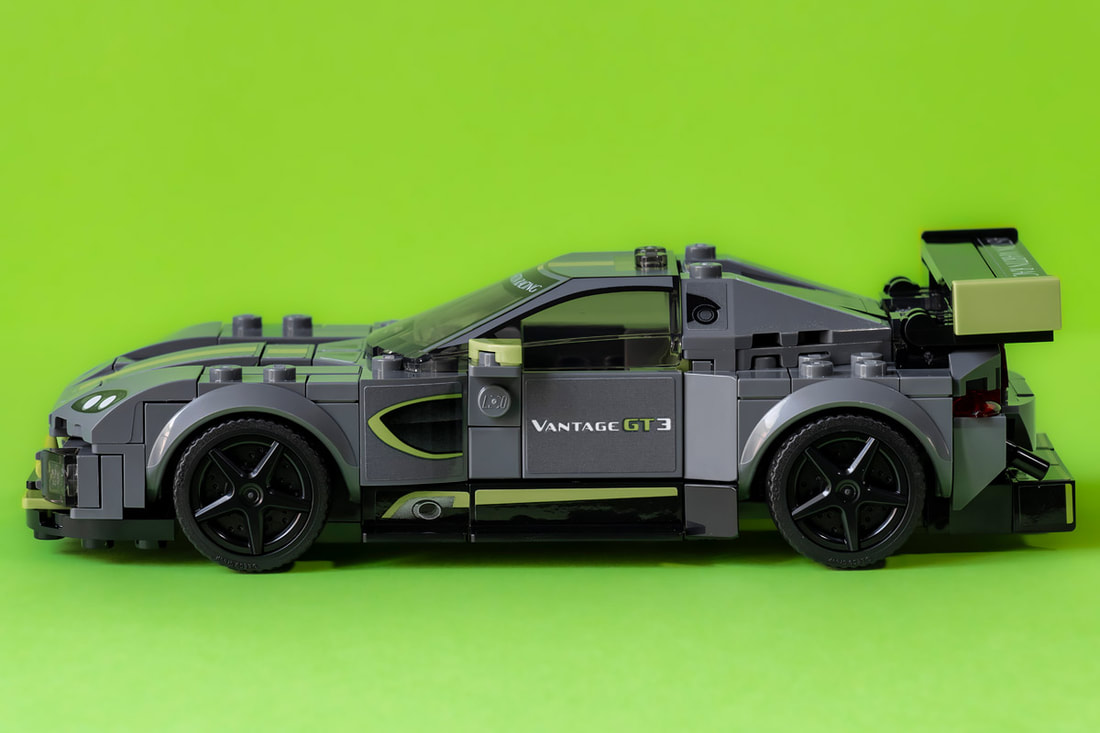
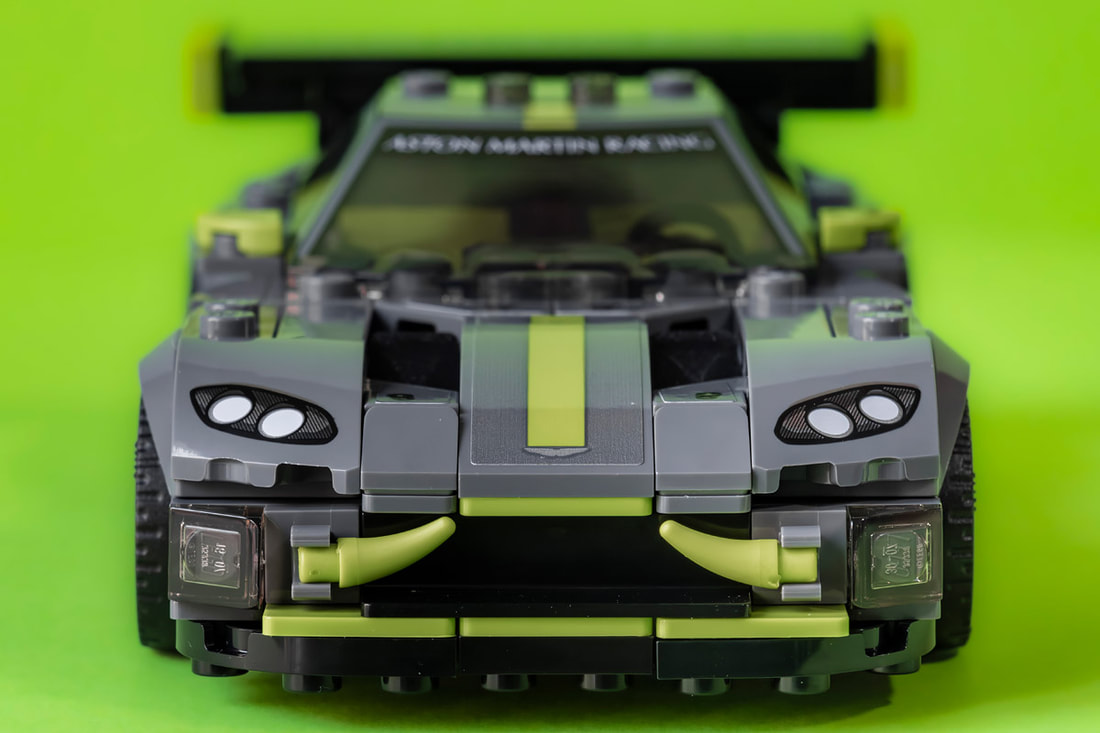
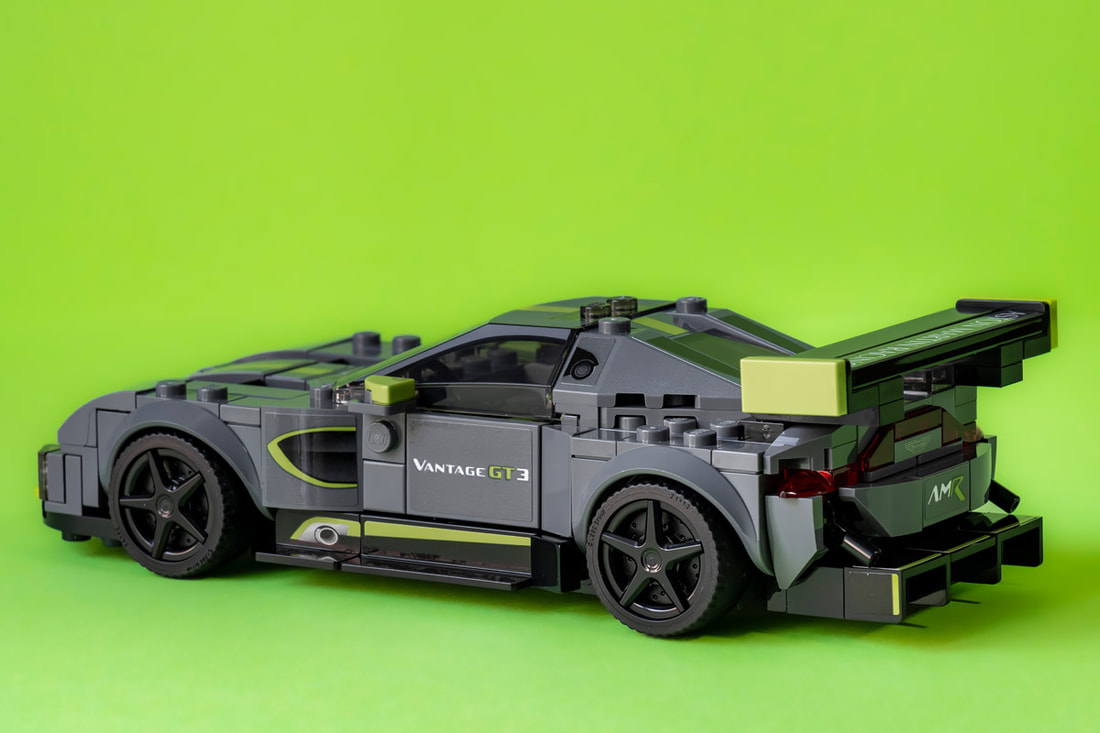
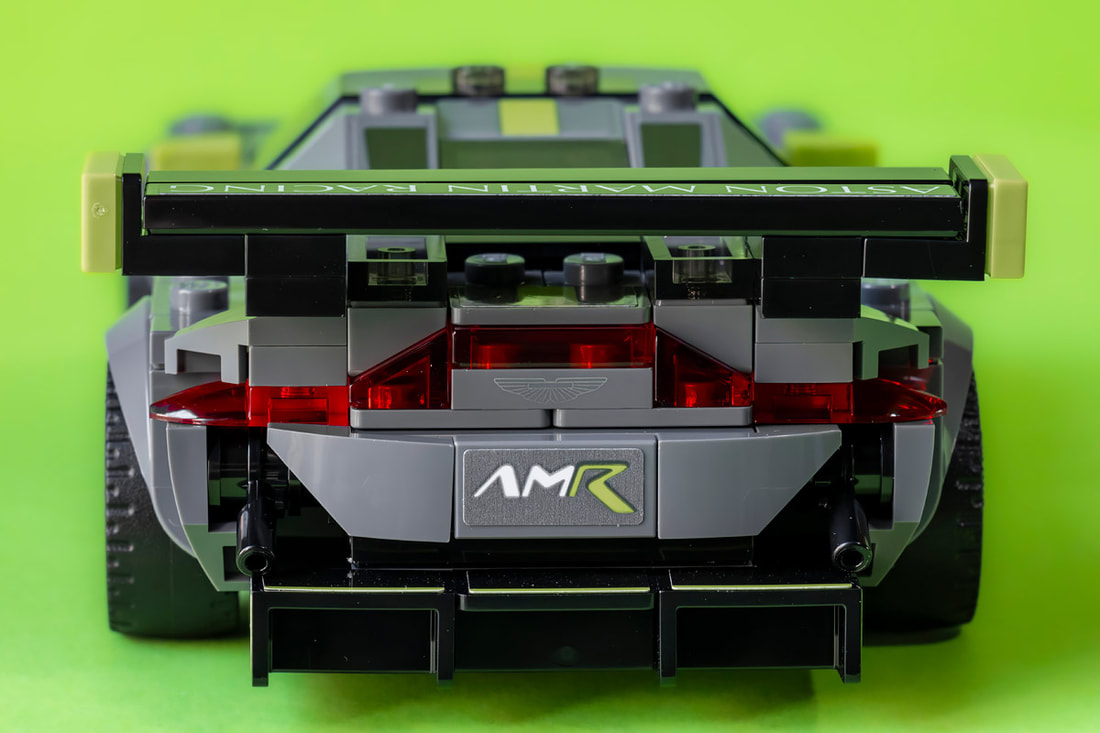
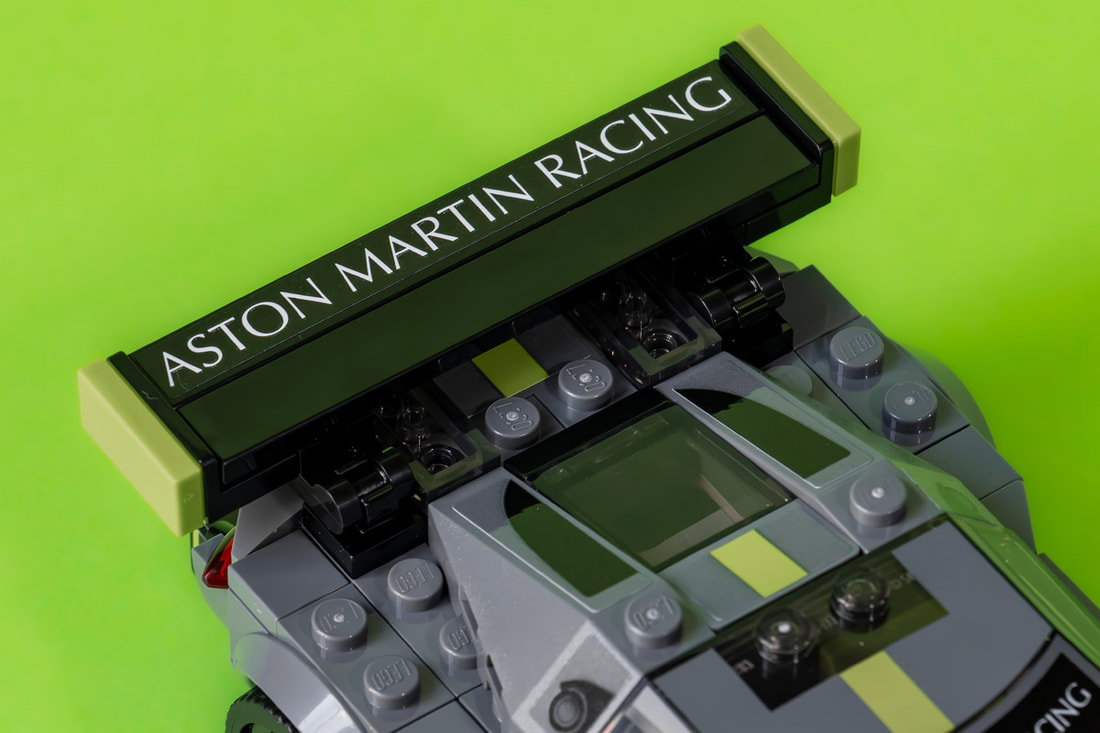
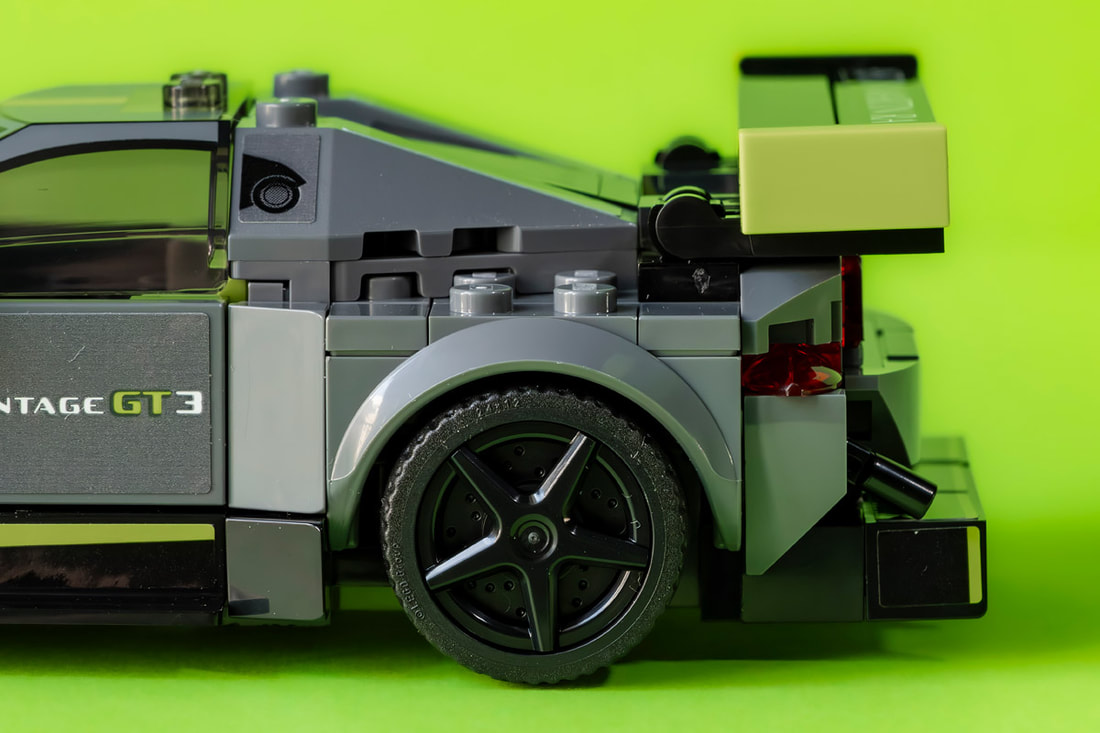
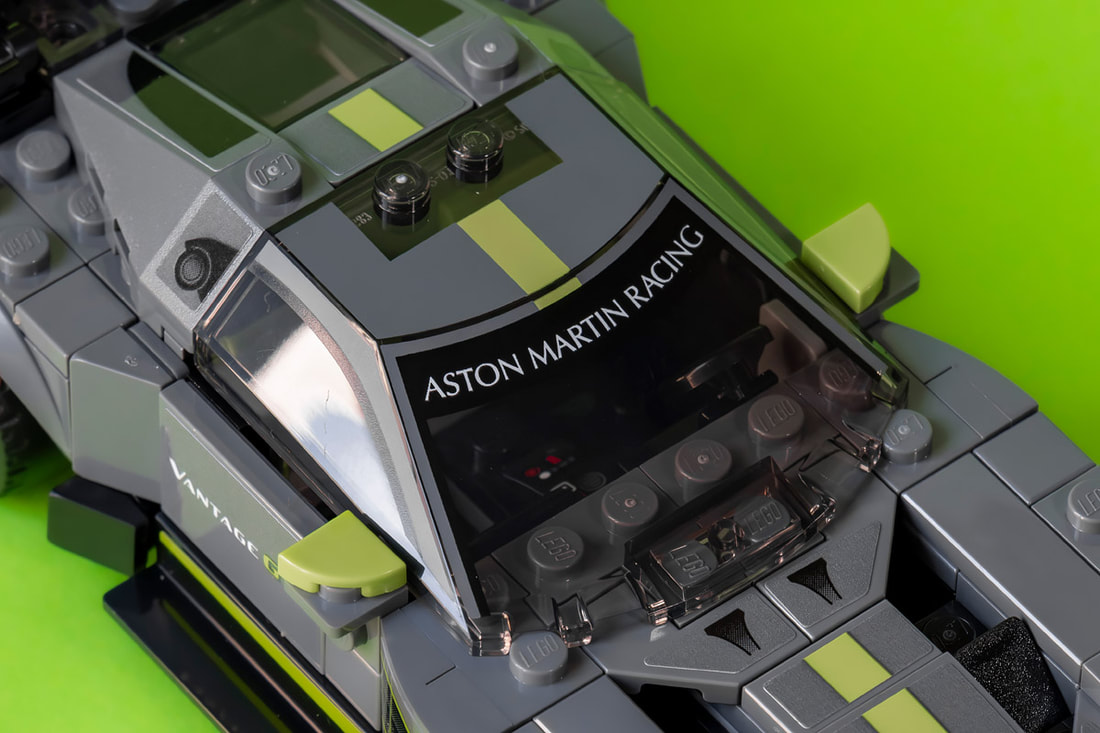
By Antonio MalaraThe story of the Lego Aston Martin Vantage GT3 is very similar to the one I described in the “Lego Chevrolet Corvette C8.R” post. Both were part of a bundle where I was mainly interested in the other model with which these cars were sold. Despite this, I love assembling "Speed Champions" models even if they are not connected to a personal story or if they don't particularly strike me. This Aston Martin is the special model designed to race in the Endurance world championship, so it is the sports version of the series model; the Aston Martin Vantage produced since 2018. The design of the Vantage is known, even if presented with different names, already from the first 007 films starring Pierce Brosnan. I discovered that the original car already boasts a series of prestigious victories such as the famous 24 Hours of Le Mans as well as having won the world championship both as drivers and teams. As regards the Lego model and the version it represents, I had no direct knowledge, I preferred to discover the model during assembly so as not to be influenced either positively or negatively. One of the things I like about the "Speed Champions" models is that the reproduction of the vehicle is not always faithful, however many times I like the Lego model more than the original. Having little knowledge of the Vantage AMR GT3, I wanted to focus exclusively on its lego version and enjoy it that way. Assembly Process This Speed Champions model, like almost all the others in the same category, had a symmetrical chassis, two numbered envelopes whose number was the progressive number of the bundle and therefore numbered 3 and 4. Also for this car I opted to assemble the parts on two separate days and I It took me seven minutes to place the bricks of the envelope number 3. The steps required were from number 1 to 55 and already at step 11 and up to 13 I had to face the first stickers for the side skirts, present in considerable numbers in this set. Until step 26 there was nothing particular but in the following step another round of stickers; as many as five all in one pass. There I applied in a normal way, without infamy and without praise but that is a phase that I don't like. At step 41 I discovered that one of the small rectangular bricks with two poles had the Aston Martin logo. Not seeing it, I dismantled part of the car thinking I had made a mistake and had mounted the one with the logo elsewhere. In reality that brick was unique but the logo was almost transparent so I already had the correct brick in hand and there was no need to dismantle the car. Also due to this error, it took me 47 minutes to assemble the bricks of envelope number 3 which, as always, refers to the rear part of the car. The parts of envelope number 4 covered steps 56 to 93 and it took me six minutes to place the bricks. In step 58 I liked the process of building the doors even though it involved attaching two stickers. From step 66 to 77 I mounted a block that formed the lower front part including the splitter, a phase that seemed anomalous but which in the final assembly took on a fundamental shape for the design. At step 87 I finished assembling the hood part and then in the next step a real sticker festival; even six! At step 91 I mounted the large rear wing and then at 92 another five stickers designed with a trick. In fact, in that passage I understood that they deliberately placed the stickers immediately after fixing the wing in order to test the children's intelligence. In fact, those stickers were very close to the wing so it was difficult to apply them. Personally, I immediately removed the wing and put it back on only after applying all the other stickers. However, if I had followed the instructions as a person who respects the authority represented by the instructions, then I would have only had difficulty. So I noticed a sort of malice in that passage, steps 91-92 were supposed to be reversed and make the assembly more logical, simple and pleasant but for some voluntary reason they did the opposite. It took me 38 minutes to complete the process of assembling envelope number 4, including this final reflection of mine. The assembled model of the Aston Martin Vantage GT3 is very beautiful and apparently resembles the Lego Chevrolet Corvette C8.R. However, the cars reproduce two different models in terms of characteristics and in fact by comparing them I saw differences such as the distance from the wheels and above all the part of the hood; longer due to the front engine in the Aston Martin and shorter with much more space behind for the Corvette which instead has a central engine. It's clear that I prefer the Vantage because it's unbalanced forward and the brick solutions reproduce the Aston Martin model better. The C8.R and the Vantage GT3 are "camouflaged" in an almost identical way by stickers, spoiler, miniskirts and typical racing car solutions. However, in the Vantage it is easier to recognize the model and brand, which is more difficult in the Corvette, let's say that the Vantage has a more professional look while the Corvette looks more like a toy. Also for this reason I believe that they did a better job with the Aston Martin as well as being a car that I prefer as a type. In conclusion, this Aston Martin model, as a reproduction of a GT car, is certainly excellent and in the end, without wanting to, I have a beautiful model that I like. Clearly after assembling it and comparing it with the C8.R I went to look around the other "Speed Champions" legos that reproduce GT models and I must say that I have already identified the model that I will buy to continue having fun and making comparisons. Pictures: Antonio Malara
0 Comments
Leave a Reply. |


