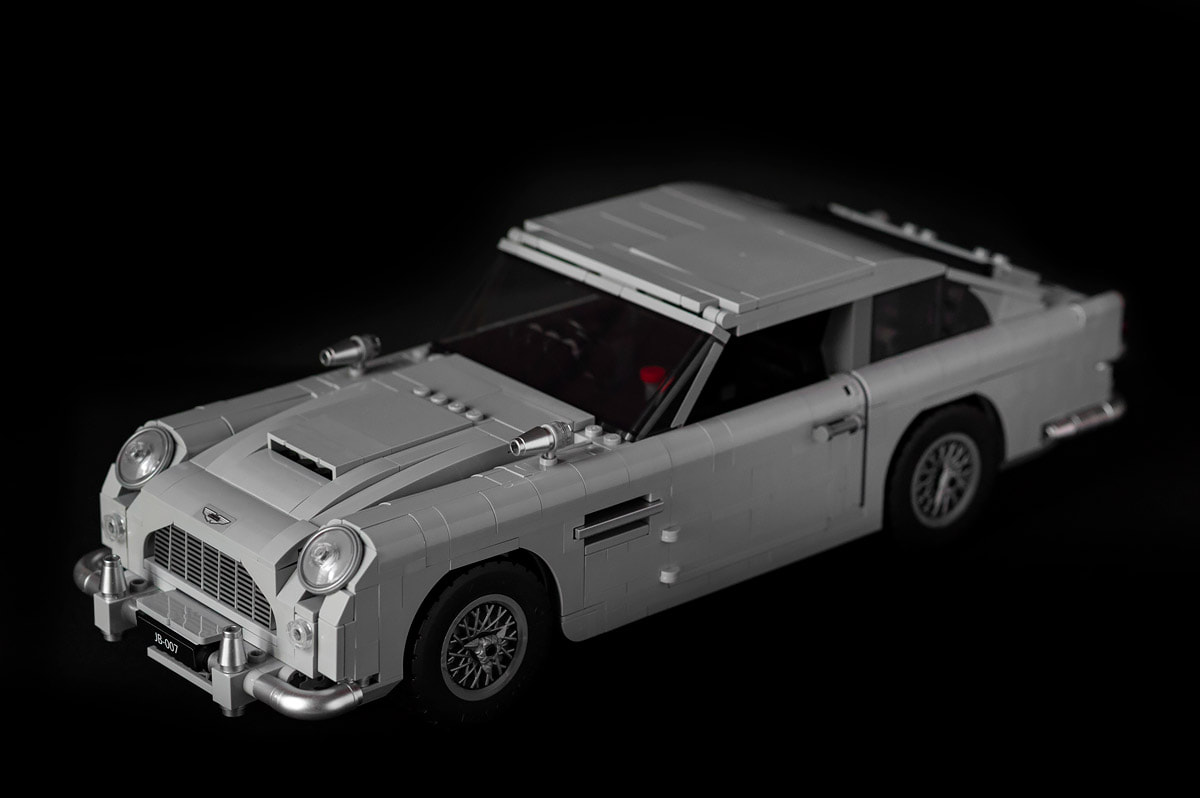
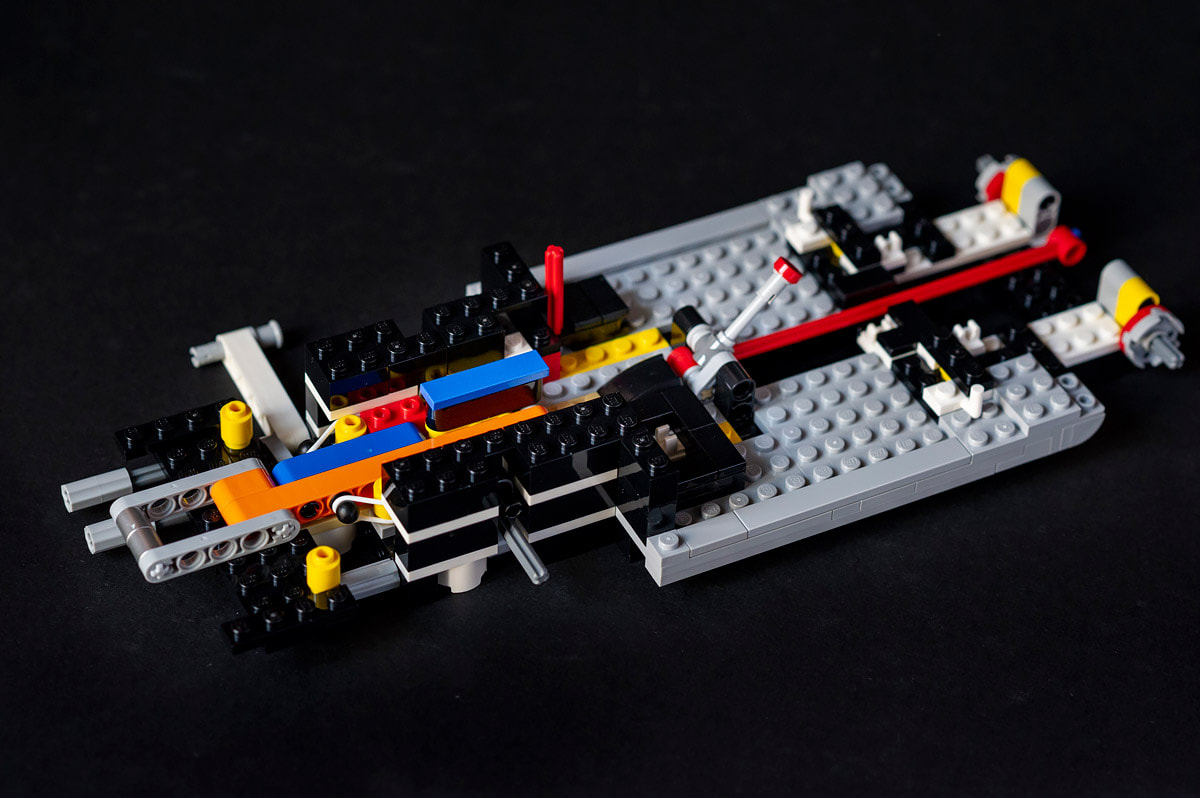
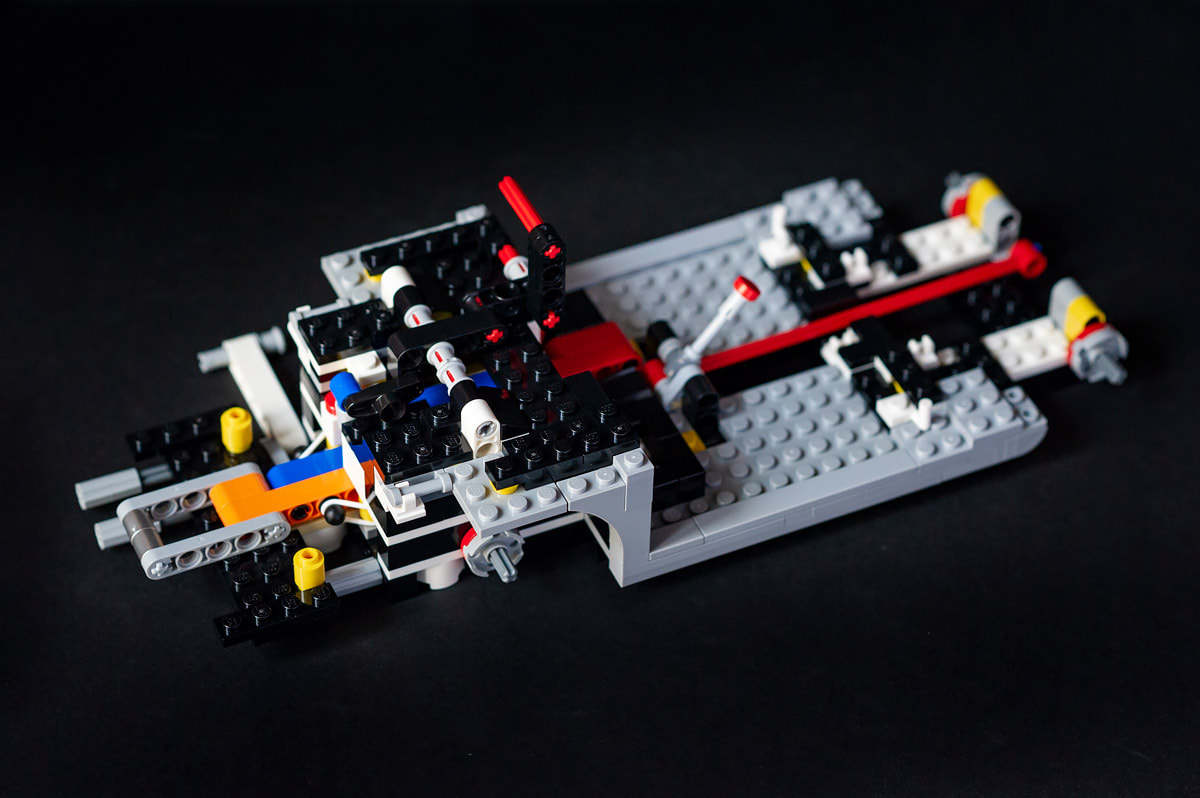
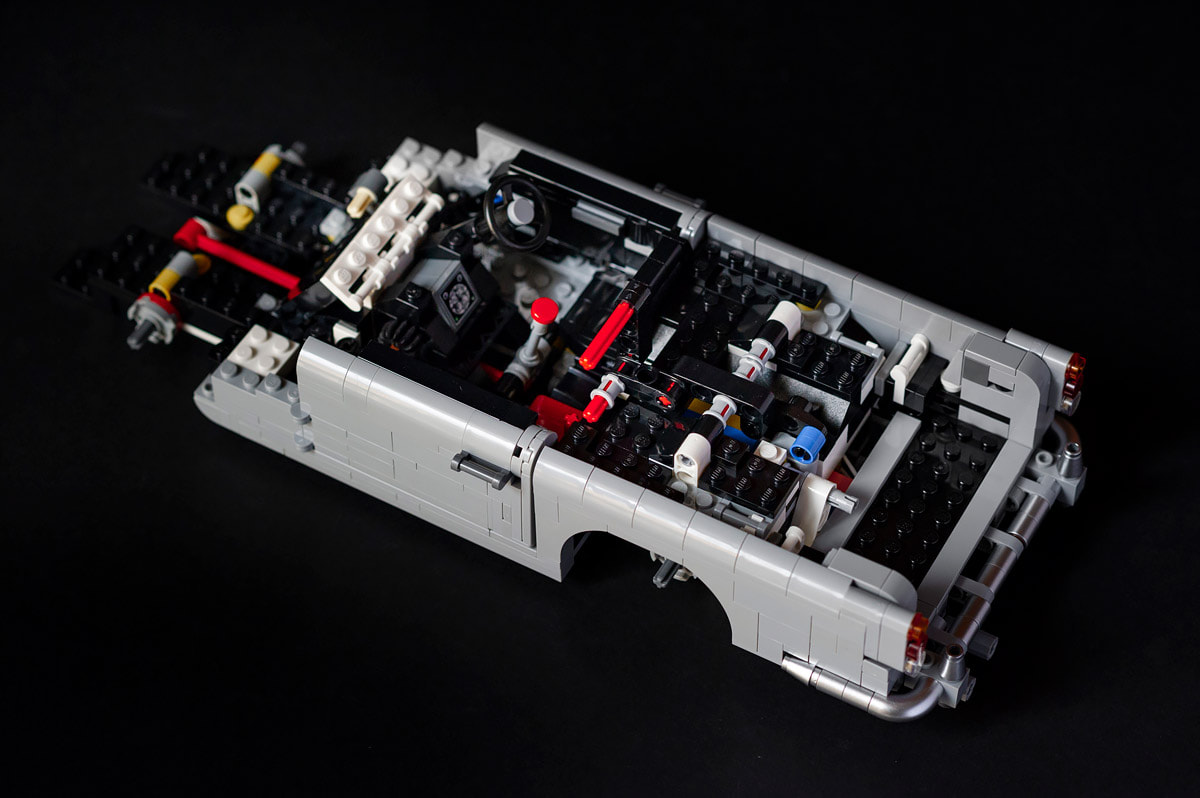
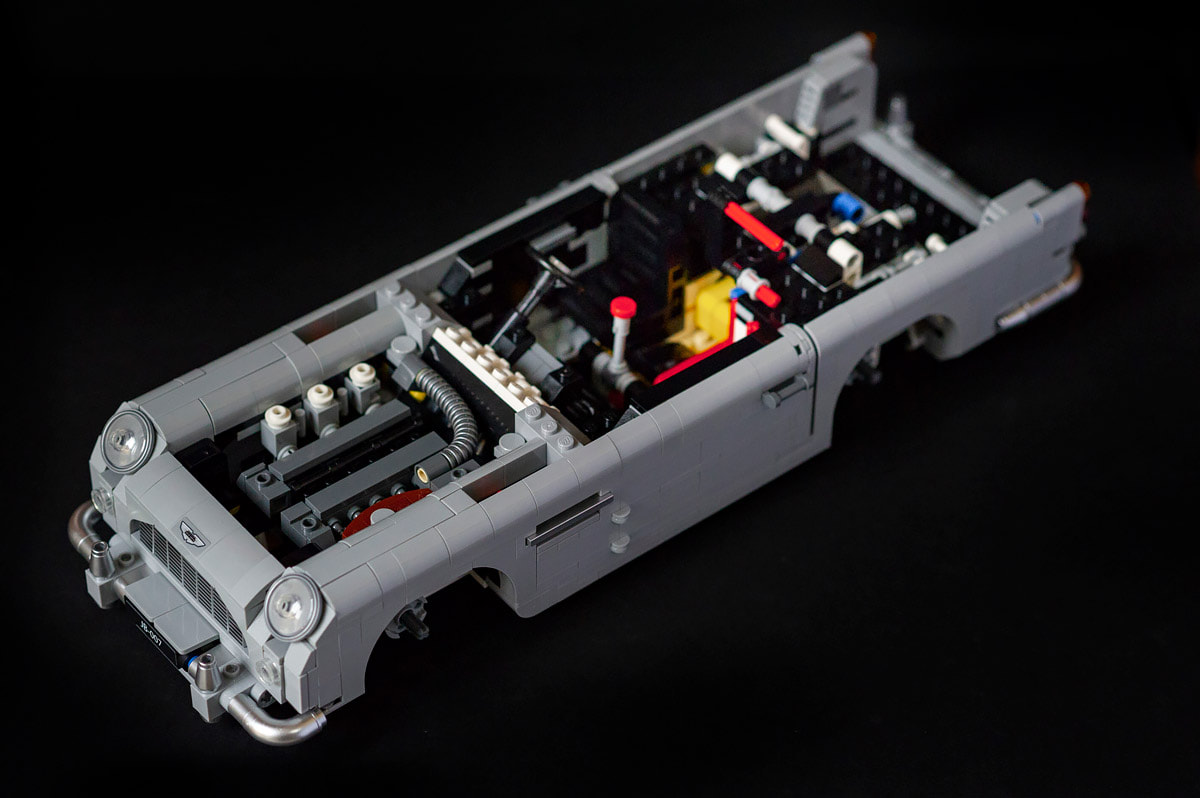
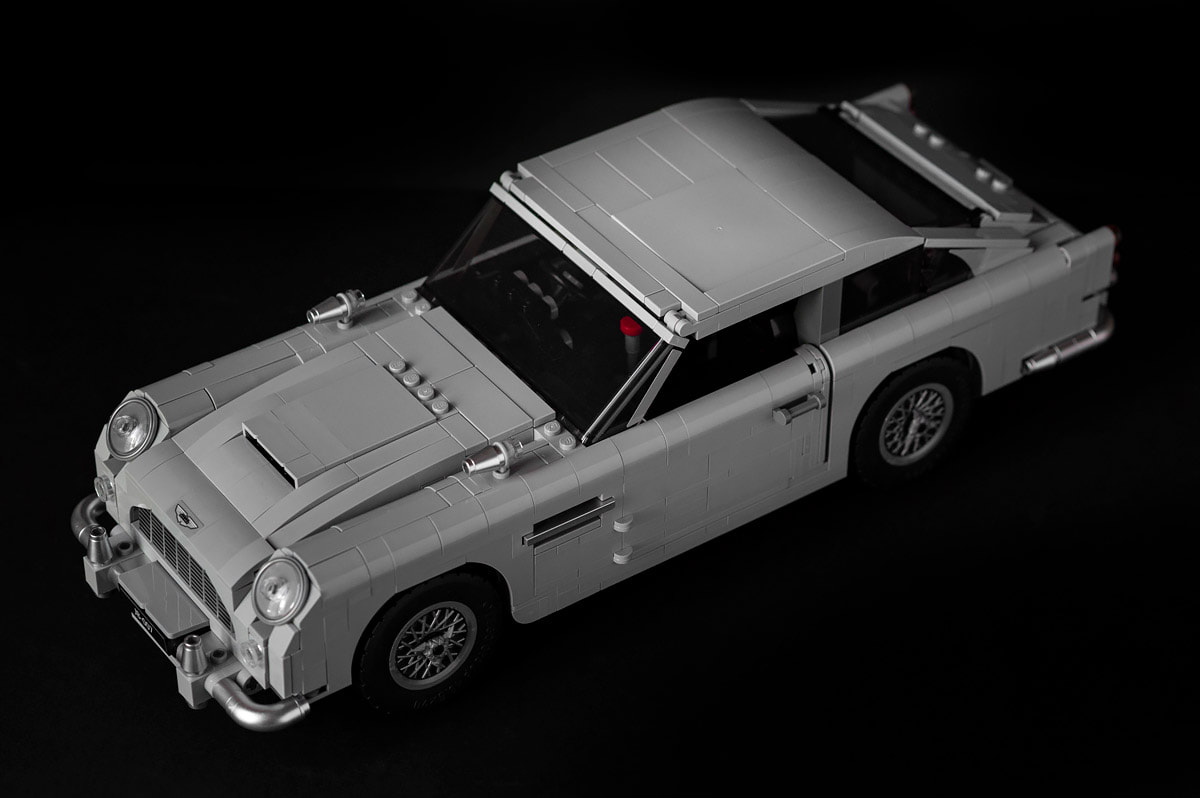
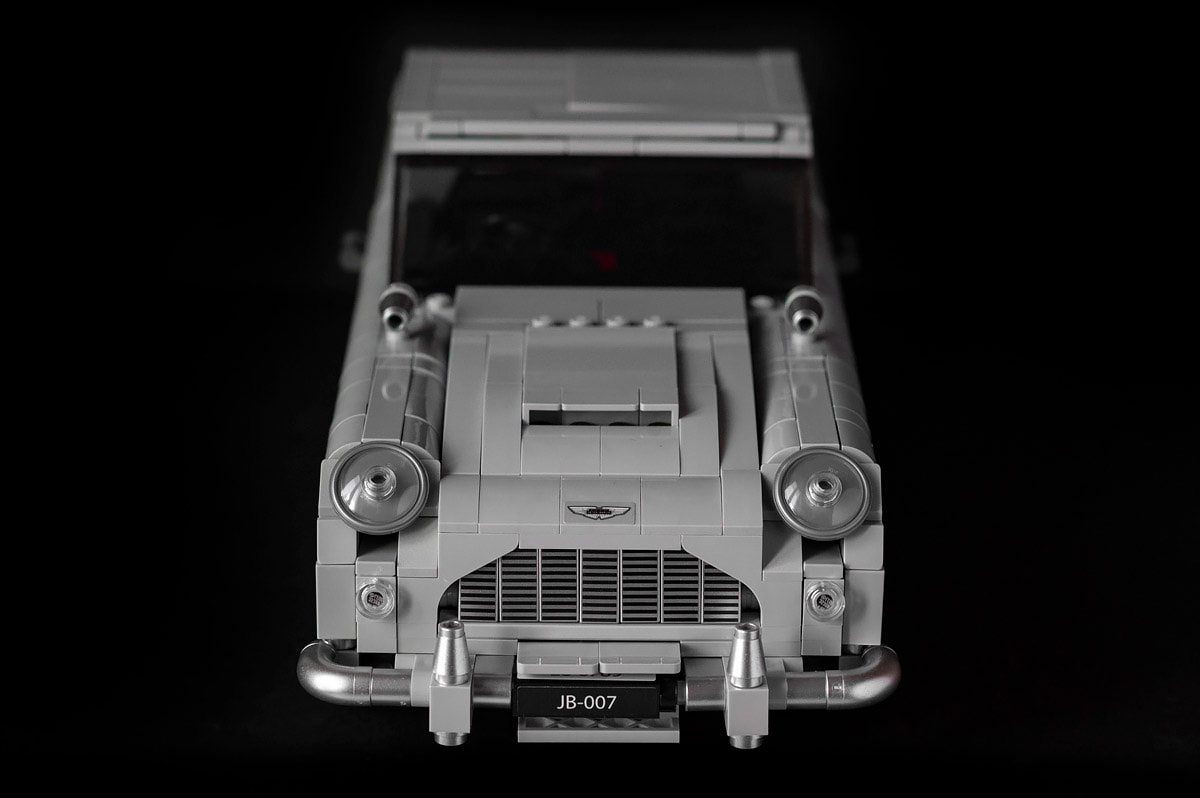
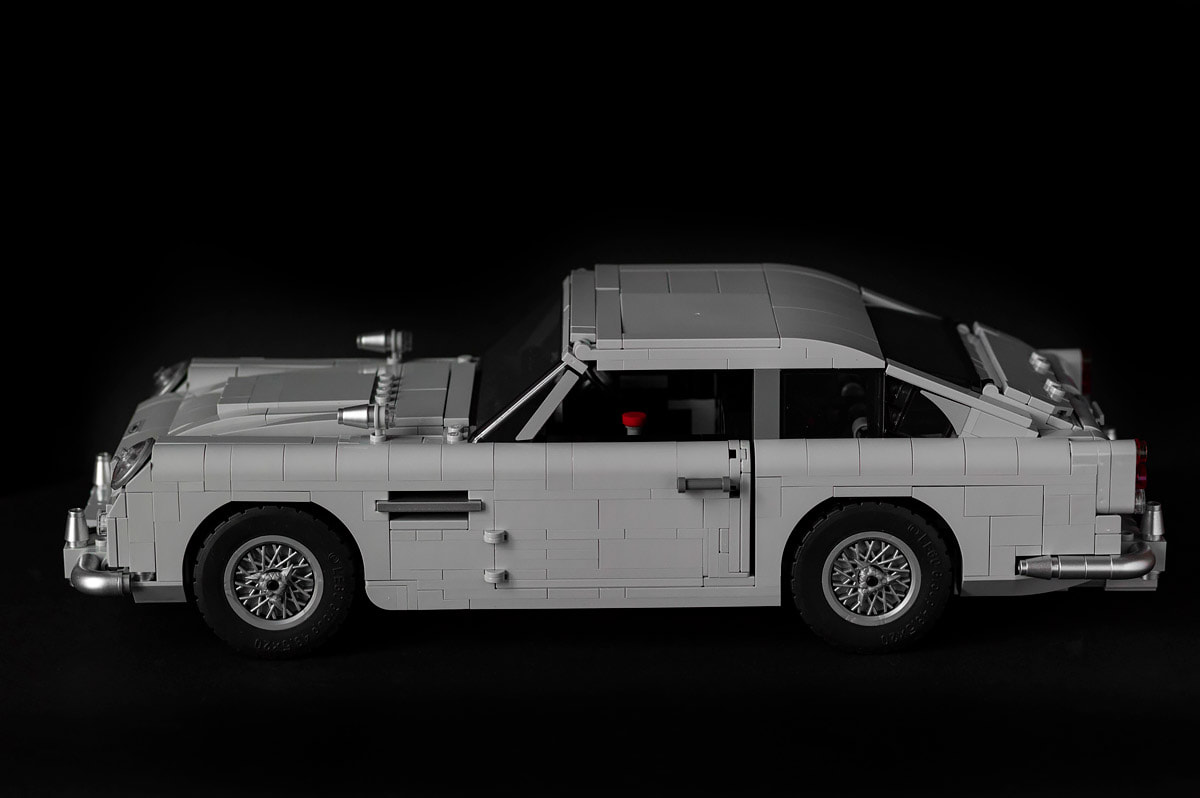
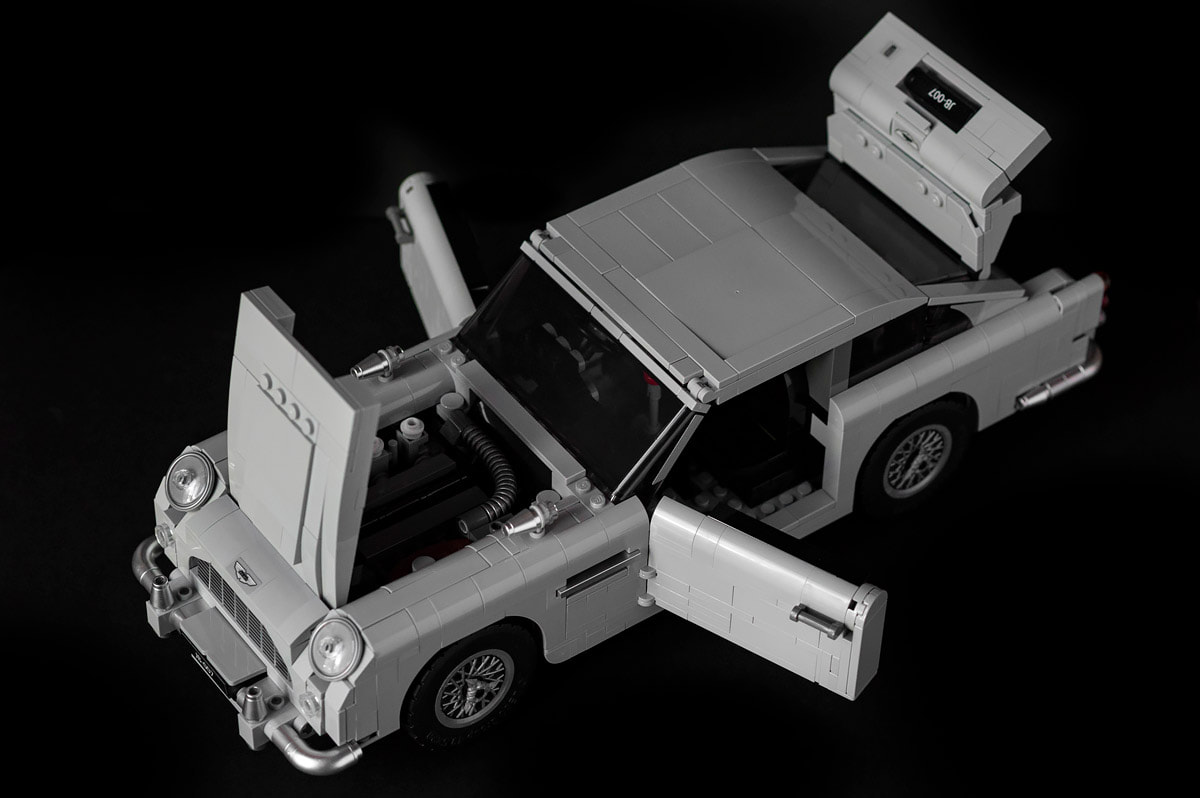
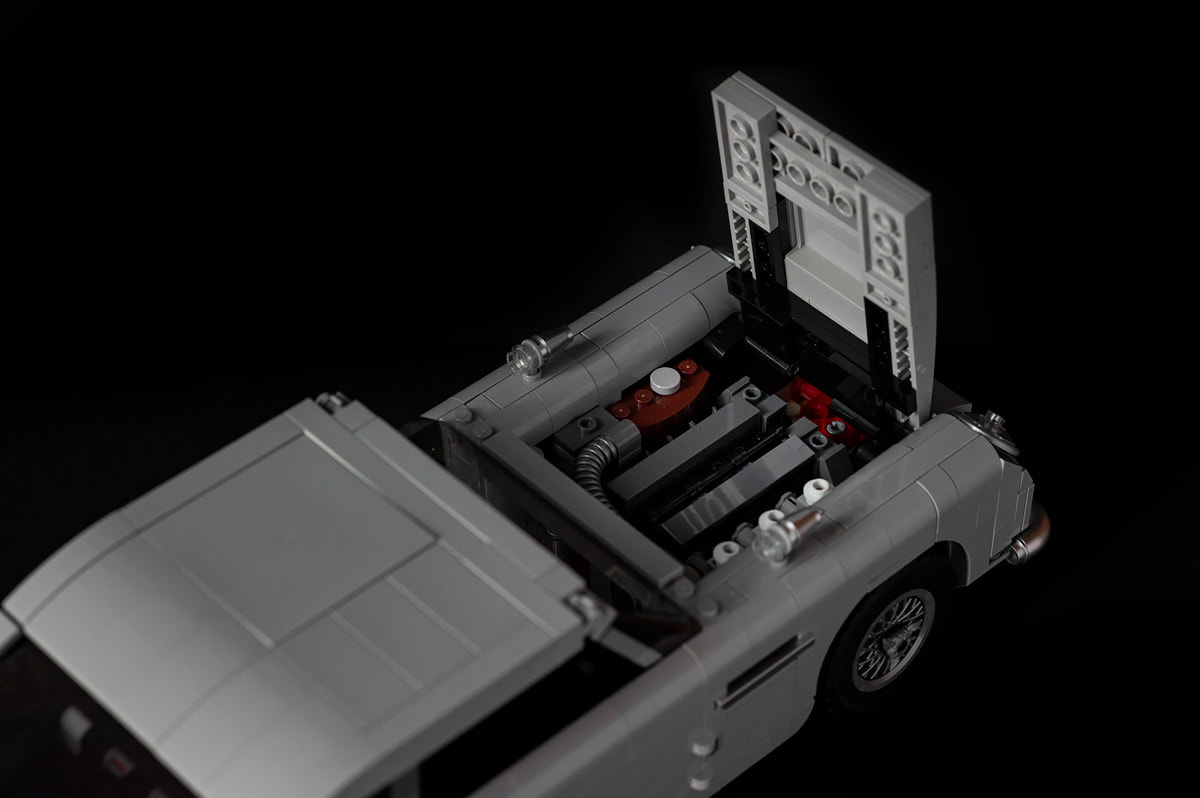
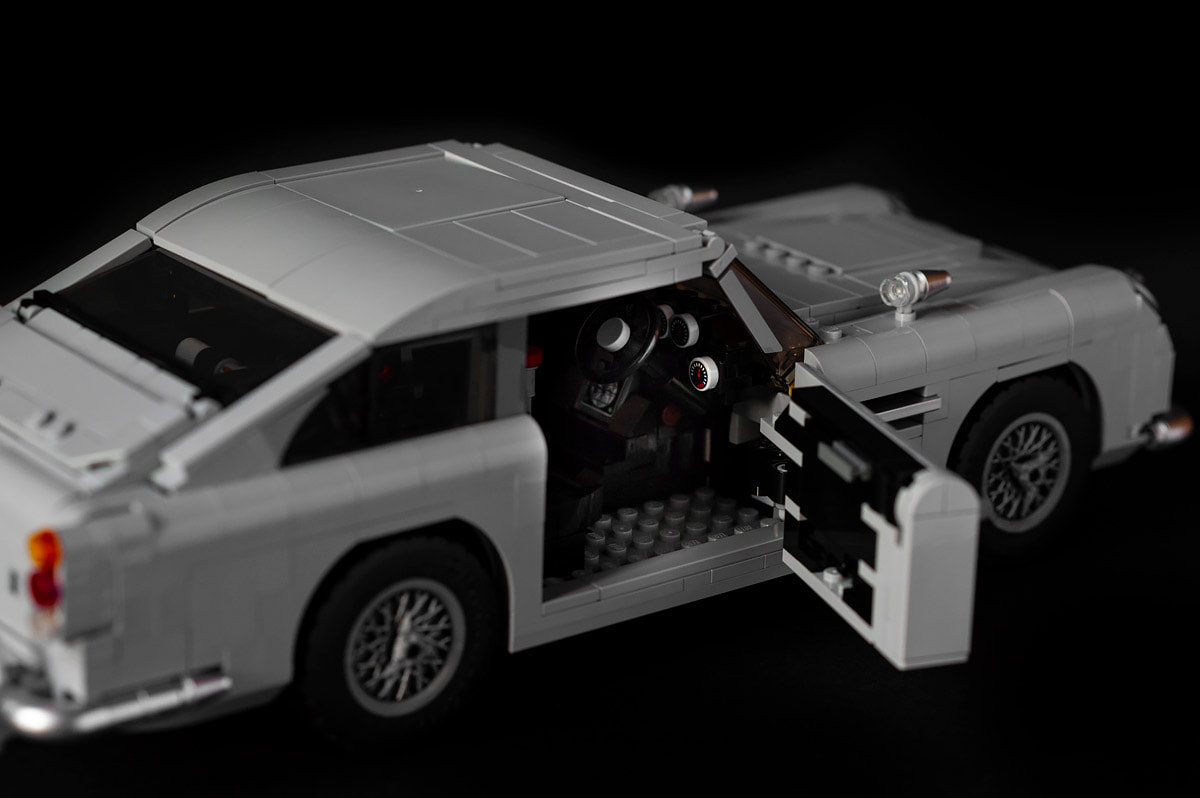
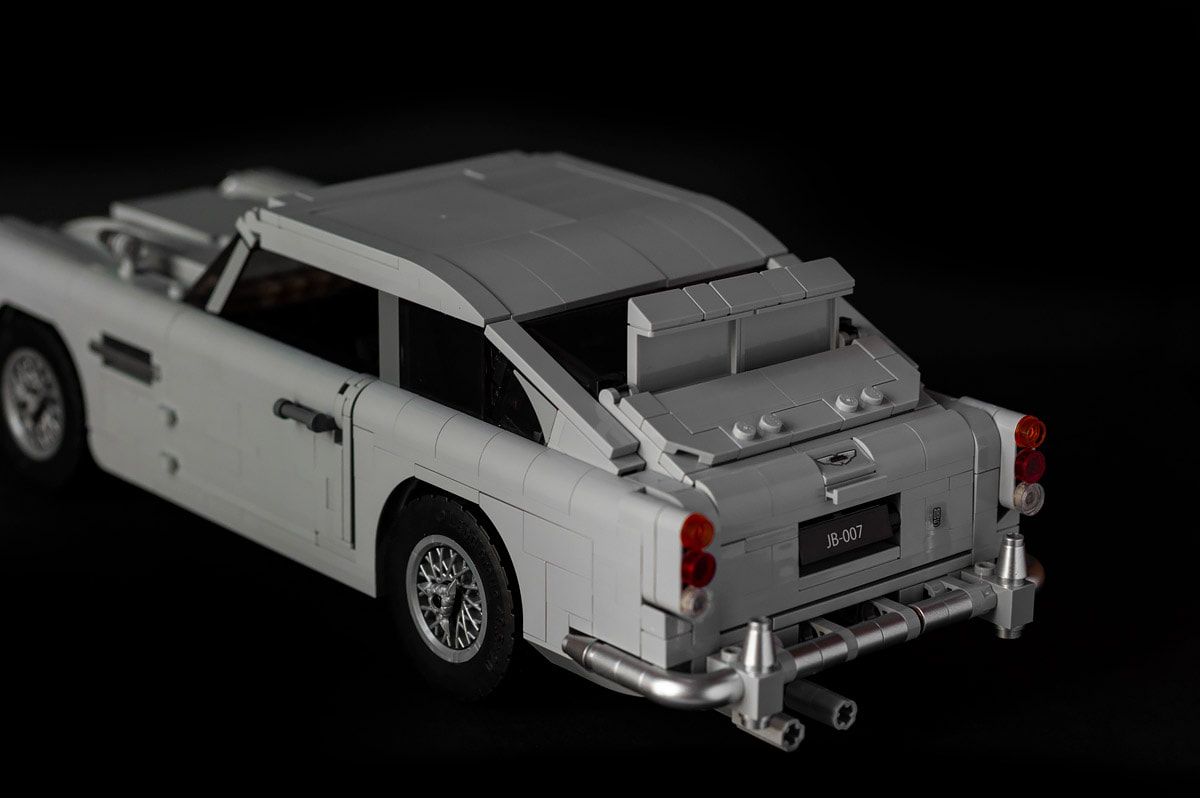
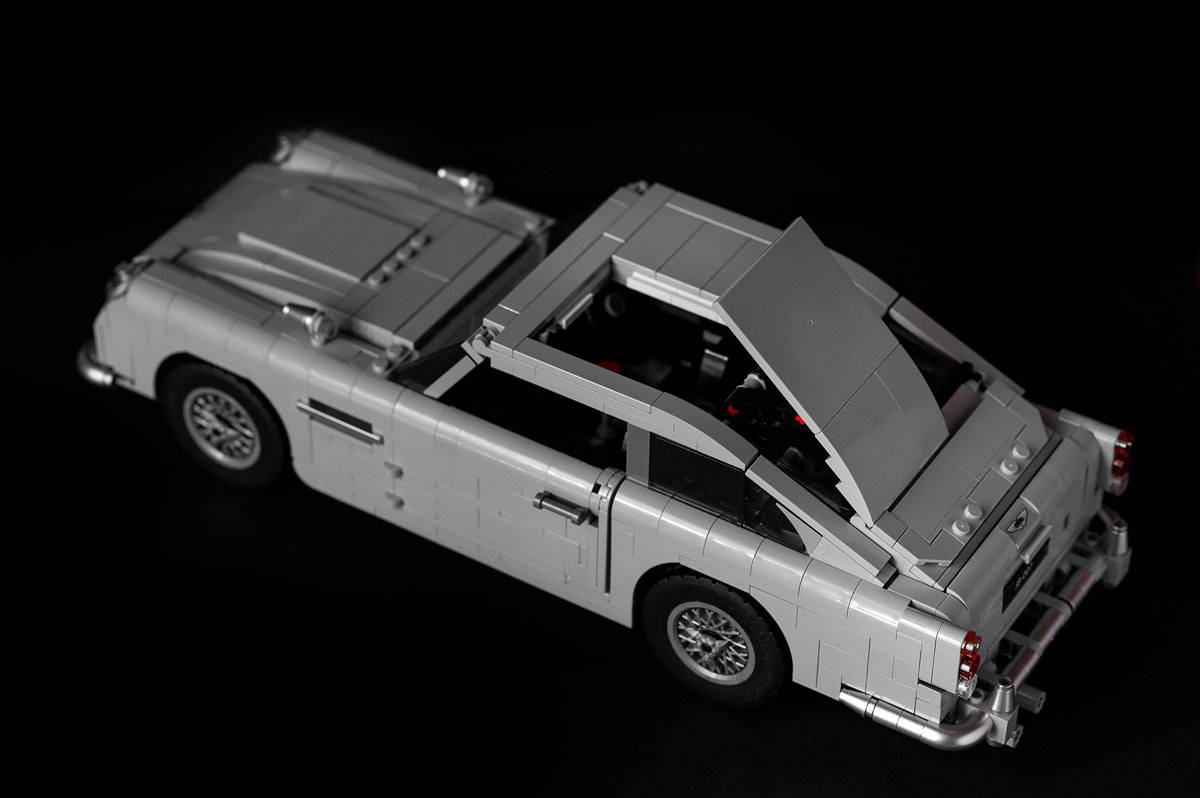
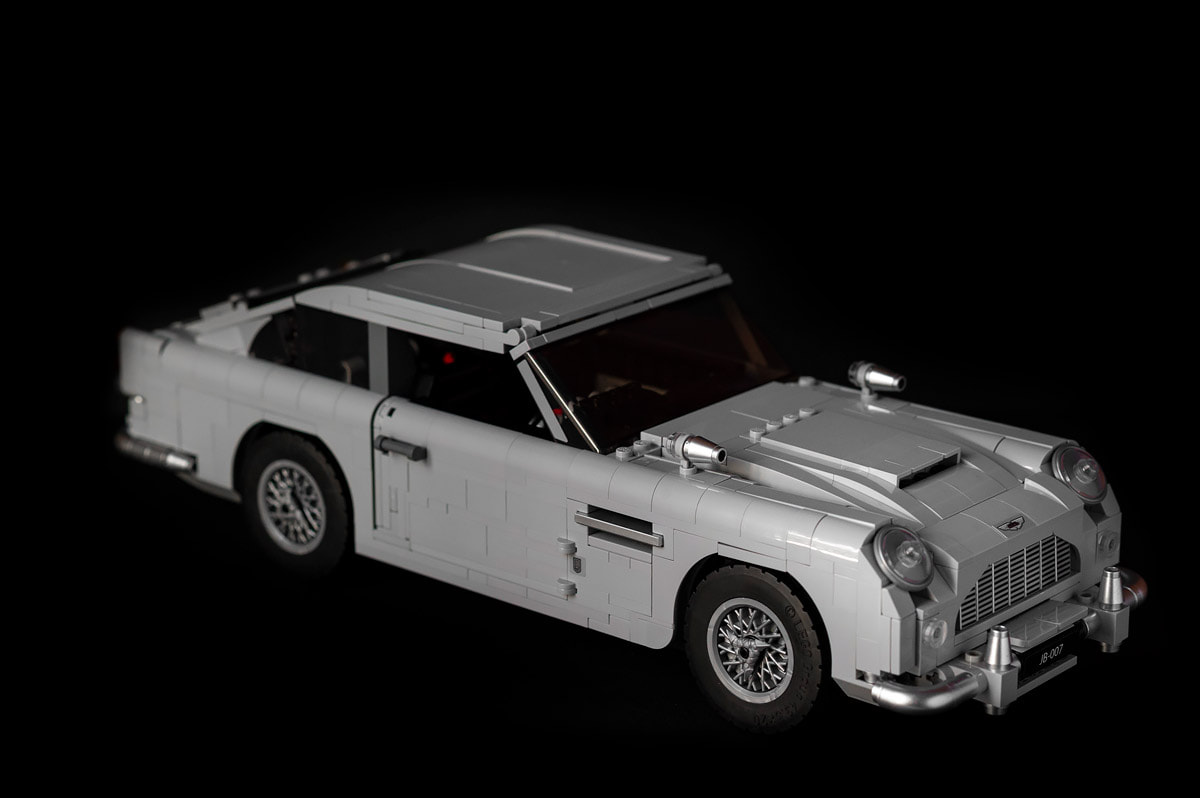
By Antonio MalaraAfter "LEGO Batmobile (1989)" where I showed the assembly of the legendary car starring in the Tim Burton film, in this post I will show the Aston Martin DB5. This car, on the other hand, is present in the James Bond films played by Sean Connery (but later it also appeared in some titles where James Bond was played by Pierce Brosnan and Daniel Craig), even if today it shows a little the years it has always been a fascinating more than a beautiful car. However, it remains an icon whose success is linked to the movies and the futuristic accessories with which the car was equipped. The smoke gases coming out of the back, the machine guns poking out of the headlights, not to mention the famous ejection seat. The fact that it was the first car of the most famous secret agent in the world, together with these special features, have certainly increased the popularity of the vehicle, making it unique and representative of the James Bond character. As I said before, I don't particularly like the design but I love it for what it represents, so it was my second Lego car on the wishlist. The Aston Martin was bought by my parents in the Lego Store in Palermo, where an employee explained that the car was out of production and therefore would increase its value over time. Personally I would have bought it even without this detail because when I like something I just buy it. Compared to the Batmobile which was made up of 3,306 pieces, the Aston Martin has "only" 1,295 so it is simpler to assemble. I must say that I picked up a lego after a year and a half and in the beginning I had to practice again with the assembly phases which, however, have a common logic in all legos. The instructions showed an assembly in 4 steps, the first was from 1 to 69 but on the first day I only managed to get up to number 57. This because I miscalculated the times forgetting that first of all you had to carefully divide all the bricks before starting. Despite everything, I only made a minor mistake, I mounted two bricks of the same size but of different color, I noticed and immediately corrected the mistake. I completed the first step up to step 69 the next day without finding any mounting obstacles. I prefer to assemble the legos in the morning and aware of the bad organization of the first day, I have calculated better the times to continue the assembly. The second step from number 70 to 146, I did it all in one session, it took me about an hour and a half and everything went smoothly except for a trivial mistake in assembling the seat; I had forgotten a row of bricks. In this step, moreover, the rear part came out. In fact, I mounted the sides up to the doors, the seat, the handlebar, part of the instrumentation and part of the front axle. Also in this step I mounted the first two of the twelve stickers provided. Now aware of the necessary timing, I planned the remaining part for two different days. While mounting step 3, I grabbed the car with a too strong grip and removed the rear right side panel. I lost some time to reassemble it but then I always finished on schedule. Finally, I assembled the last step in just over an hour without any hitch, I was probably starting to become familiar. At the end of the assembly I could see that some components to be built, such as the engine or the grid, are no less complex than a lego with many more pieces like the Batmobile. In the case of multiple pieces the process is only longer but the complexity remains the same. It must be said, however, that even the technique and logic are the same for all legos, so learning once you shouldn't go wrong anymore. The car, once assembled, is really beautiful, the designers have not smoothed the bricks so the design is more squared than the original Aston Martin. This is an added value, the car has more personality and personally I like it more. The only defect that can be attributed is the fact that the roadway is a bit narrow compared to the length but nevertheless I must say that the more I look at it the more I like it. The characteristic thing about this car is that it respects almost all the special features present in James Bond's car. By moving the shift lever to the rear, the low headlights give way to the machine guns. Pulling the central part of the rear bumper activates the expulsion of the passenger seat by raising the roof part, with greater pressure the passenger seat jumps out. Rotating one of the exhausts activates the rear shield. By turning a rubber knob, this turns the part of the air conditioner that becomes a radar map. Except for the first special equipment mentioned, all the others work perfectly. I don't know why, but pulling the gear lever doesn't always turn the headlights to make the machine guns appear. As I said before, the Aston Martin DB5 is not my favorite James Bond car, but I find this one from lego amazing. Probably the fact that I mounted it and saw it being born piece by piece made me happy. The square design is very original and in my opinion enhances and improves the original design even more. This car is the third lego I have mounted since I was a kid, by now I have understood that this process has become an obsession and I have begun to follow a somewhat expensive logic. In fact, even before I finished assembling the Aston Martin, I bought two more legos that I will show later. I made a wishlist and I hope to continue with this method at least as long as I have space available to display the mounted products. Before I even finish assembling a lego, I must have at least two new ones, otherwise I panic. GalleryPictures: Antonio Malara
2 Comments
Antonio
29/5/2024 23:24:37
Thank you
Reply
Leave a Reply. |
