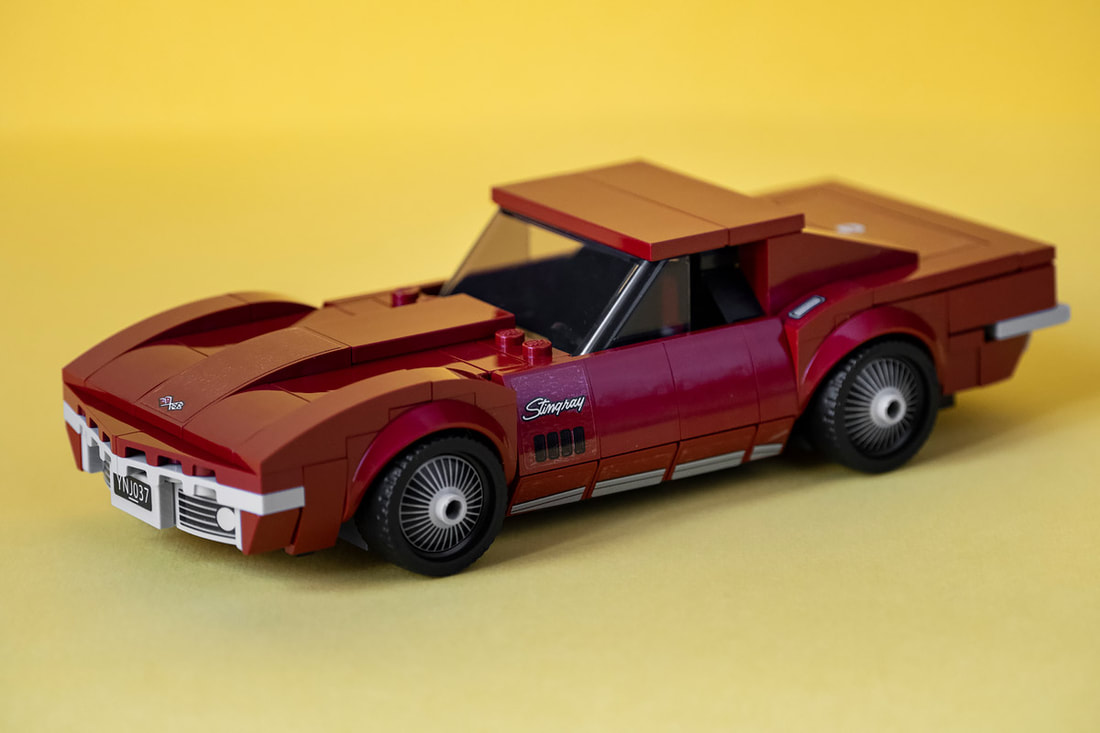
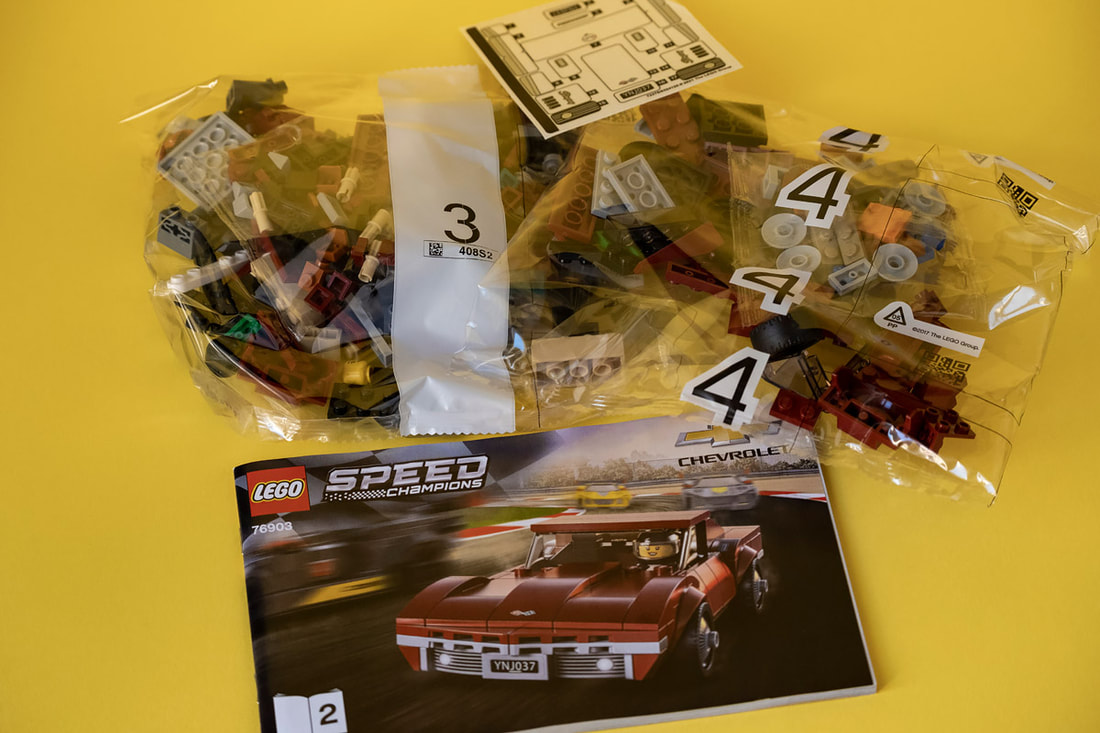
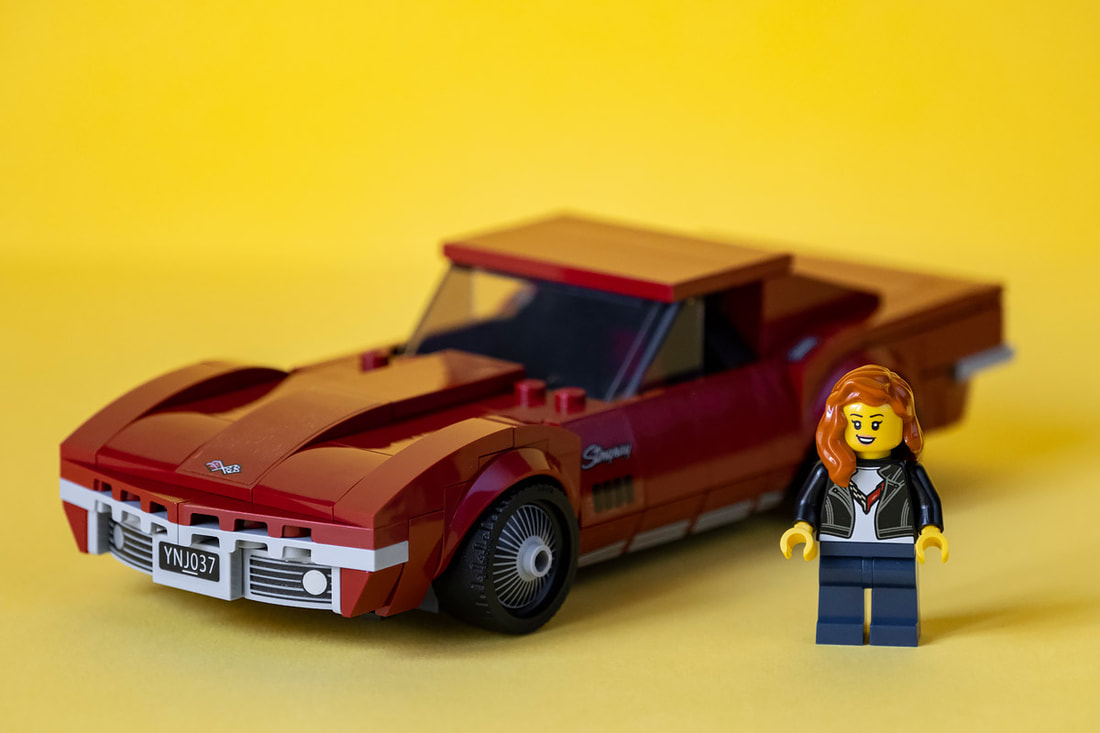
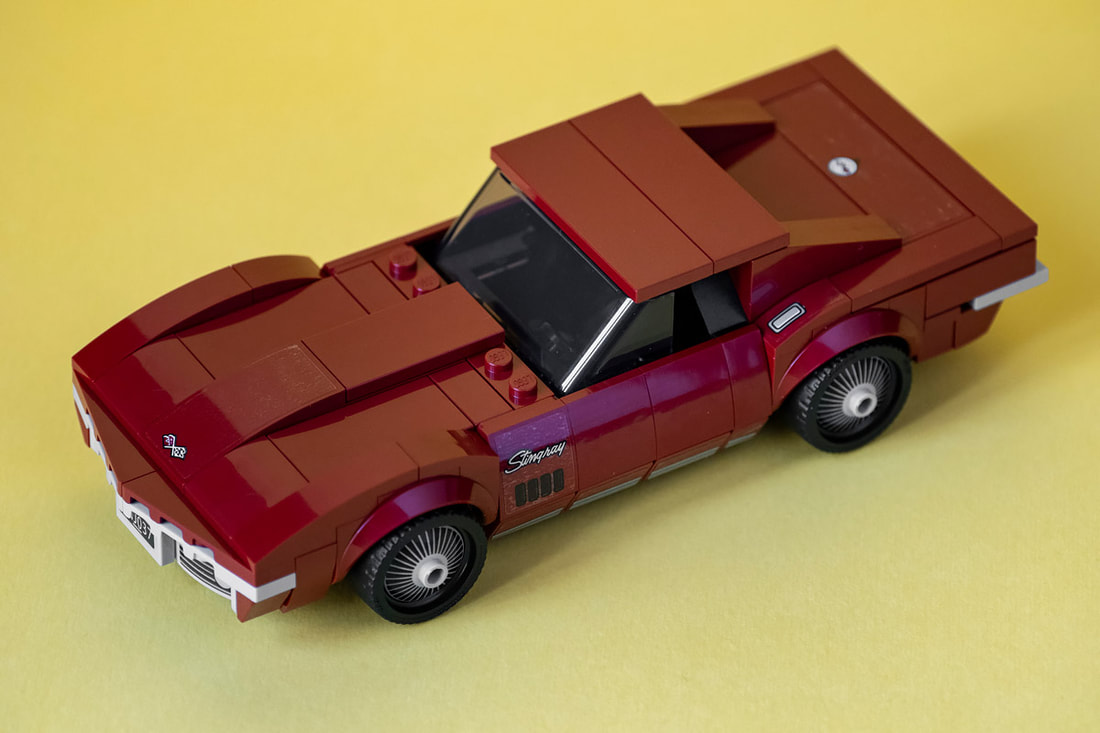
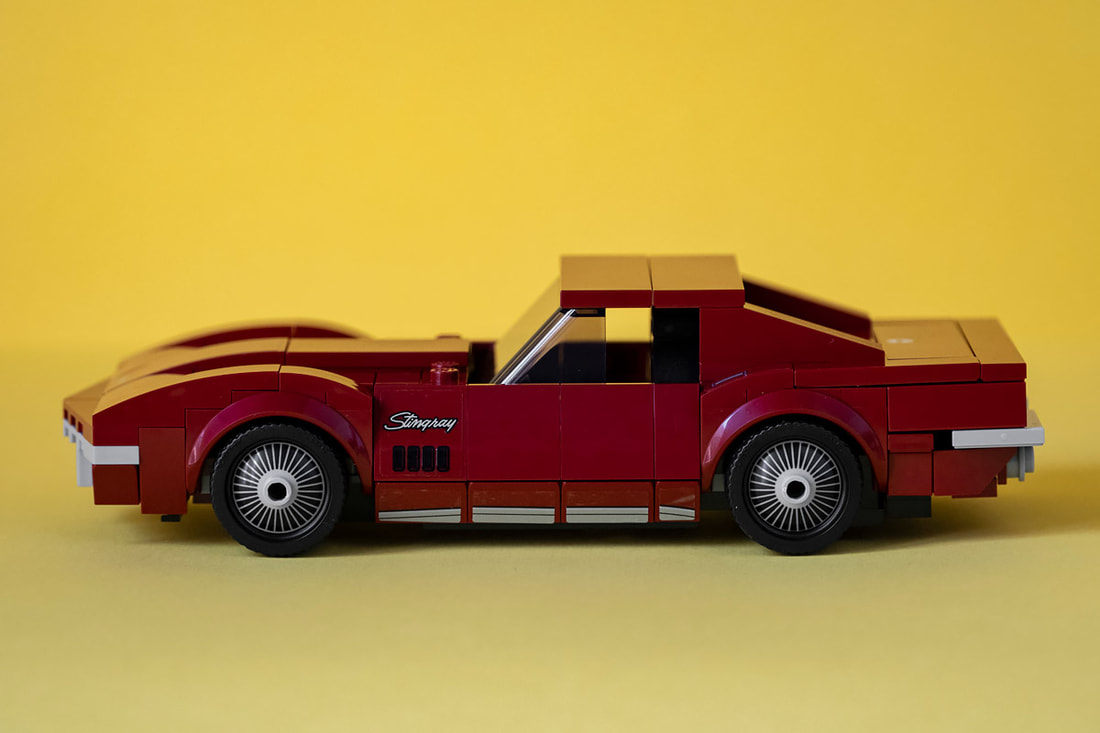
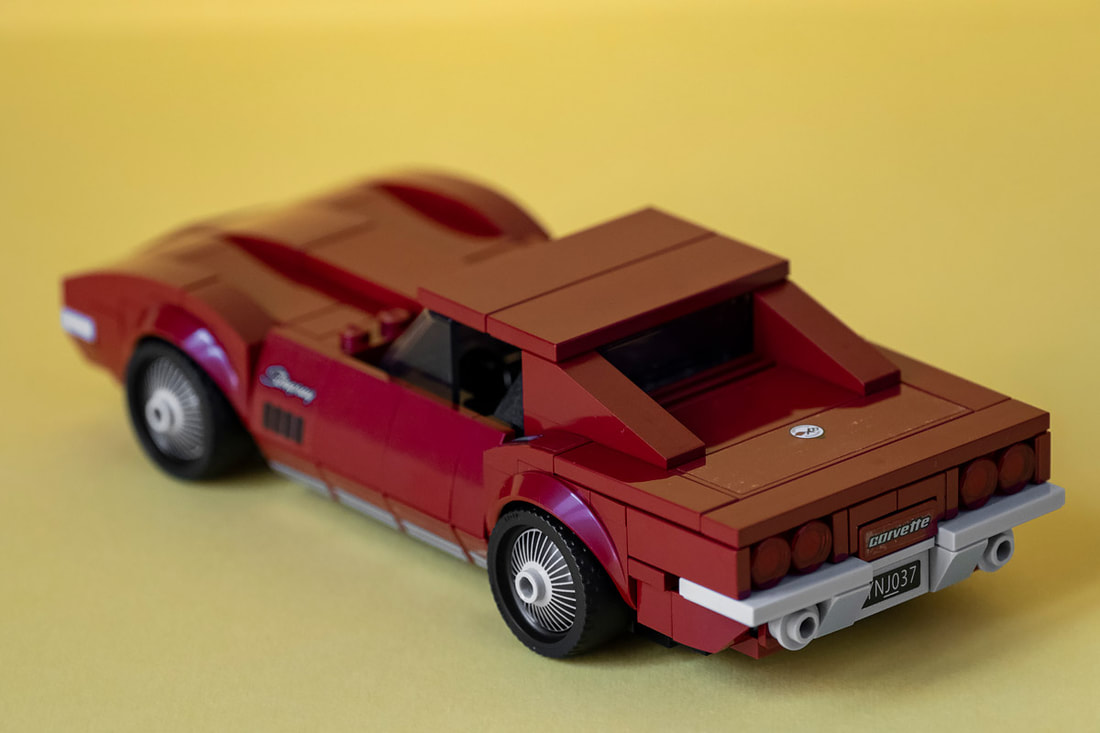
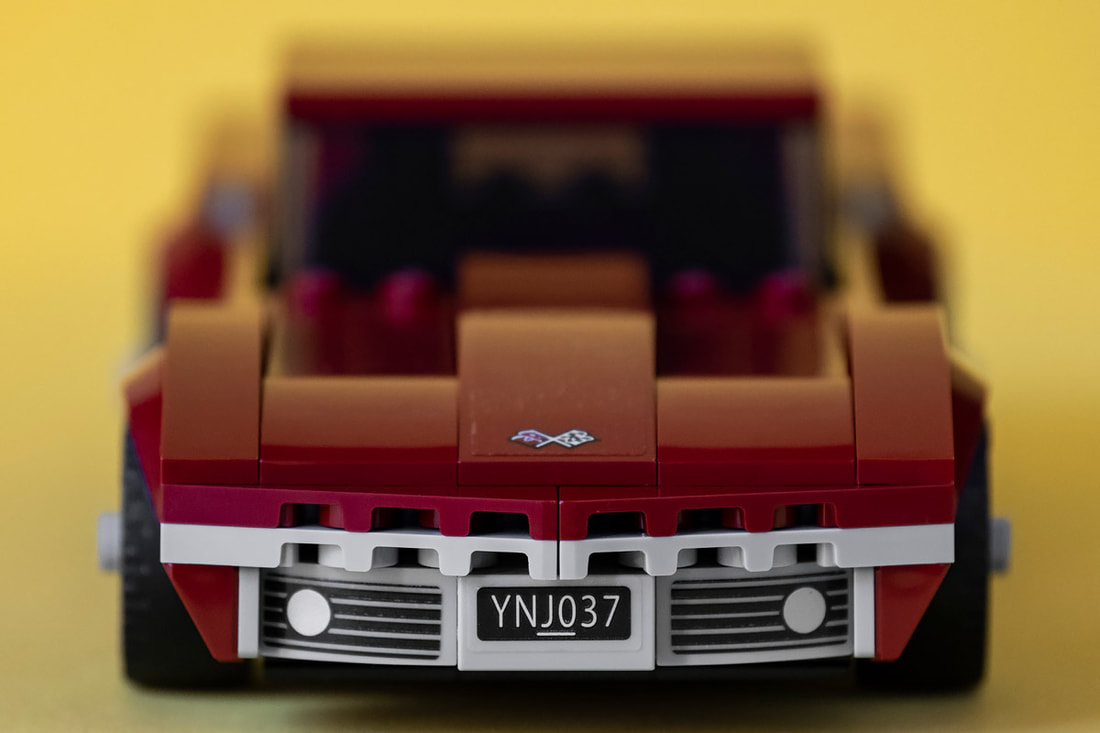
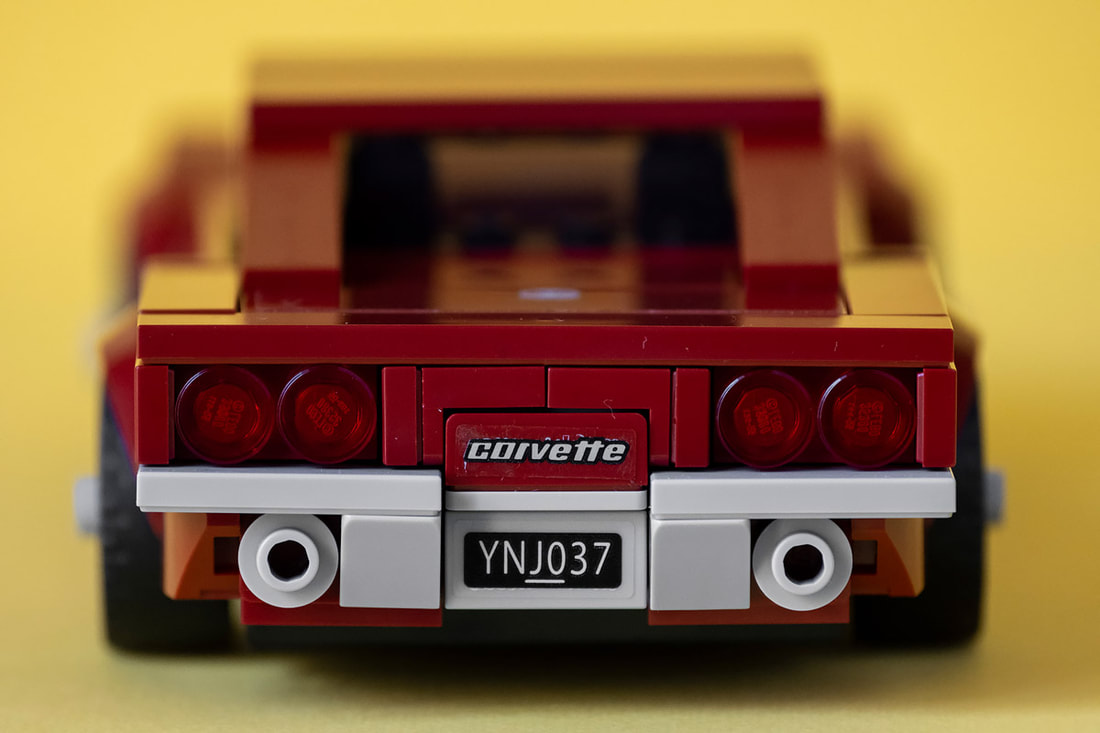
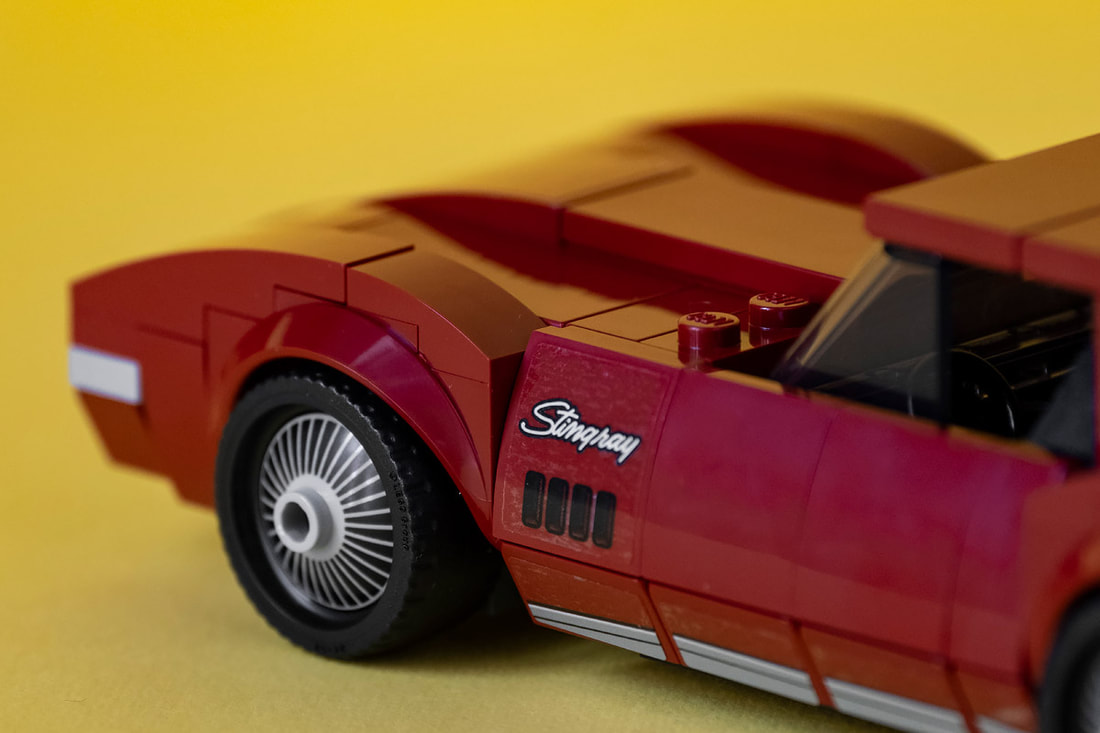
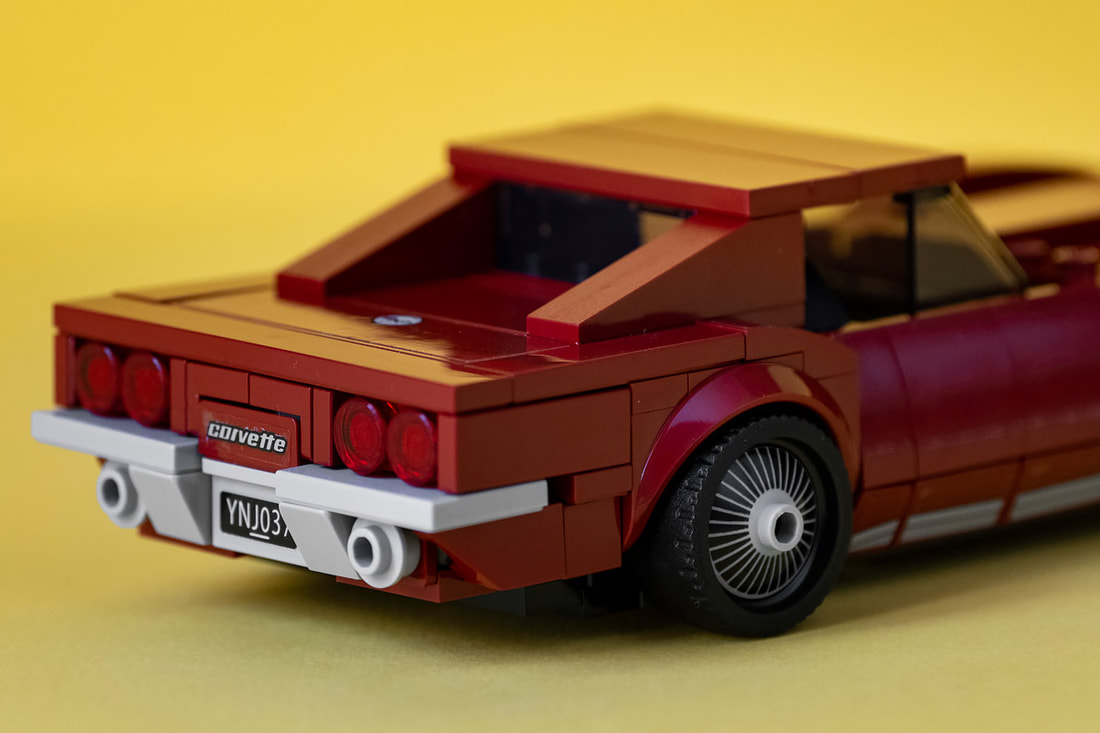
By Antonio MalaraAs I wrote in "Lego Chevrolet Corvette C8.R", both that car and the 1969 Corvette were sold bundled in one box. However, the car that I was mainly interested in was the Corvette I’m talking about in this post. As I have said on other occasions, I consider the 1979 Corvette to be the perfect car and this lego model that reproduces the 1969 version represents for me the embryo of my favorite model. The volumes of the car are in fact the same, the style is the same, the only difference is the lines. In the 1969 version, above all, the front is harder, squarer, while ten years later perfection is achieved with rounded lines that streamline that very long hood even more. Assembling these Speed Champions cars series, I noticed how the cars have a different rendering when assembled compared to the photos that are in the box. I explained how I didn’t like the Corvette C8.R from the photos but then assembled it had a completely different look. This 1969 lego Corvette already impressed me a lot from the photos and even the amaranth color gave it a vintage look. For this car as well as for the previous one I mounted, it represented the challenge of assembling it in a single session and above all, for this car I was very motivated. As for the other Speed Champions, this car had two large envelopes numbered 3 and 4 only that inside the 4 there was only one smaller envelope instead of the two in the envelope 3. Once I opened the first envelope I noticed how the bricks they had a predominance of amaranth color which was the final color of the car. A detail that I immediately noticed was that this time the driver of the car was a woman, which could be seen in her long red hair and lipstick. I took five minis to arrange the bricks in envelope 4 and basically after the base of the car, from steps 13 to 24 I mounted the rear part. In step 20 terror showed up with the application of the first stickers which in this case recreated the Corvette license plate and logo. Basically until step 42 everything went smoothly then at 43 I had to mount the second set of stickers. The time taken to assemble the bricks in envelope 3 was approximately 35 minutes. As I said before, envelope 4 had fewer pieces and I noticed it immediately because it took me only three minutes to position them for assembly. Especially for envelope 4 everything went smoothly and quickly and I only had to commit myself from step 50 onwards to apply other stickers. Those of passage 53 represented the livery of the lower part of the sides which obviously I was unable to mount correctly and have some imperfections. It took me only 20 minutes to complete the car, despite the fact that the front was larger than the rear.. I assembled this car practically by intuition after selecting the pieces for each step. I don't know if it was because this model was simpler or because I am slowly improving. The only thing I didn't like was the type of stickers that were transparent, once applied they left a halo between the sticker and the surface of the car, even after rubbing them. This detail is clearly visible in some photos but not to the point of ruining the aesthetics of the car. Placed alongside the C8.R, this 1969 Corvette it looks like it’s doesn’t respect the proportions or scale of the other car. However, I could see how I like the design of the 1969 Corvette more. The long hood with the curve of the fenders and the flattened rear have a much more personal line than today's super sports cars with the rear engine. I much prefer the classic design with little aerodynamics and I am always of the opinion that the long hood is an element that distinguishes the beauty and sportiness of a car. In this 1969 Corvette, the roof rises above the flat line of the car as if it were the cabin of a boat. This detail increases my feeling that this car is like the embryo of my favorite Corvette, the 1979 one. In conclusion, this lego version of the 1969 Corvette is also sensational in its vintage personality. Pictures: Antonio Malara
0 Comments
Leave a Reply. |
